
Manual camera settings for light painting
This is a difficult question to answer, and it all depends on where you are, what camera & lens you have plus a miriad of other factors. In this guide I will try and explain the relationship between ISO, Shutter Speed and Aperture (f-Stop). If these terms are new to you, start at the top of this article!
What are ISO, shutter speed and aperture?
SHUTTER SPEED
This is the easiest of the three to explain. This is the length of time that the shutter stays open allowing the sensor (or film!) behind it to collect light. If the shutter speed is 10 seconds, the shutter will stay open for that amount of time exposing the sensor to whatever light is coming in through the lens
ISO

ISO is the amount of ‘sensitivity’ that the sensor has. Back in the day, different film mediums had different ISO ratings, which allowed the photographer to calculate the shutter speed and f-stop to properly expose their images. Go back to the proper old school, I’m talking the cameras where the photographer stood behind the camera under a cloak, and those films had very low ‘ISO’ and hence long shutter speeds were required to expose a photo.
For modern digital cameras, the ISO is how much the signal from the sensor is boosted (called gain). If you go into higher ISO’s whilst shooting in low light situations, you’ll be trying to boost a weak signal which causes errors, known as noise.
Every camera reacts differently at each ISO rating as it’s performance is dependant on many factors such as sensor size, pixel sixe within the sensor, whether the sensor is backlit or not etc.
F-STOP / APERTURE
If you want the quick explanation, this is the size of the hole at the back of the lens which light passes through. The bigger the hole, the more light that gets through to the sensor in a given amount of time.
There is an equation as to how the f-stop value is calculated, but in all my time taking photos, I’ve never needed to know it. What you need to know is:

Lens Aperture Blades
You can see the blades in the back of the lens which create the aperture which can be made bigger or smaller depending on which f-stop you select.
The lower the number, the bigger the hole. The bigger the hole, the more light that gets to the sensor.
There is a sweet spot for sharpness with every lens when it comes to f-stop, somewhere in the middle of its range.
f-stop affects depth of field:
Low numbers have a low depth of field, with a subject in focus, backgrounds can be blurred and give bokeh
High numbers have a large depth of field, with most of the composition being in focus from back to front
ISO vs. shutter speed vs. aperture, and what is ‘a stop’??
SETTING UP FOR A PHOTO
If you put your camera into automatic mode, then it will evaluate the ambient light and chose the best settings to take the photo. The evaluation is done by a process called ‘metering’. There are a few other modes and here’s what they do:
Automatic : ISO, shutter speed and aperture set by the camera.
Shutter Priority : You set the shutter speed, and the camera will set the ISO and aperture automatically.
Aperture Priority : You set the aperture, and the camera will set the ISO and shutter speed automatically.
Manual : Camera does nothing, and you set all three settings youself
Bulb : Same as manual, but the shutter speed is determined by how long the shutter button is pressed for. Used for exposures longer than 30 seconds (which is usually the maximum for manual mode).
STOPS, WHAT ARE THEY?
There is a set relationship between the three settings. And the difference between them is called a stop. It can be confusing but if you follow these basic rules then it gets a little easier to understand and set your manual settings.
+ ONE STOP
f-stop / 1.4
or ISO x 2
or shutter speed x 2
- ONE STOP
f-stop x 1.4
or ISO / 2
or shutter speed / 2
Let’s take an example of changing your settings, but mainting the same overall exposure. All of the following settings will give you the exact same exposure, however depending on what you want creatively (lets say a blurred background) you can work the other settings around it.
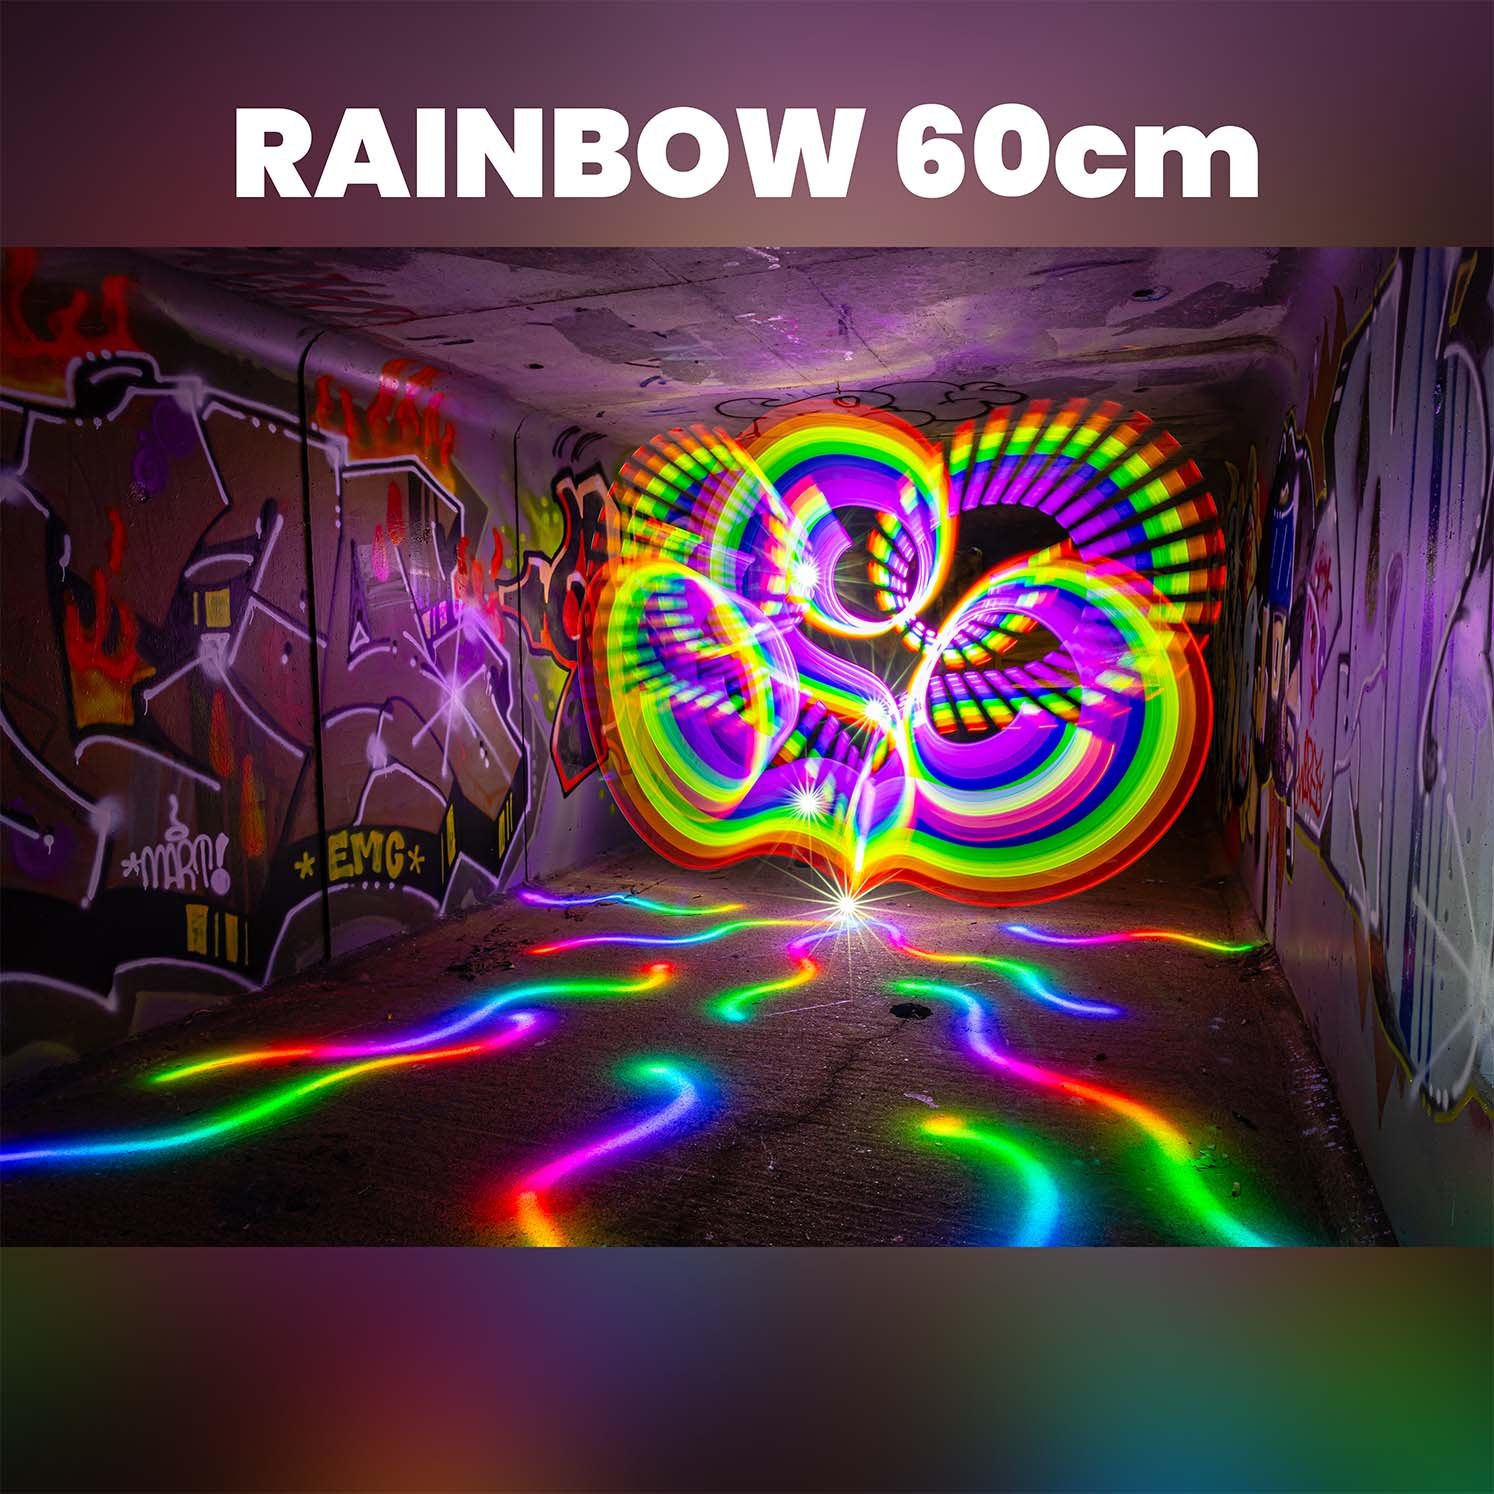


This seven colour Rainbow Choob will bring a massive splash of colour and vibrancy to your light painting images.
PHOTO 1 - ISO 800, f2.8, shutter speed 5 seconds
PHOTO 2 - ISO 1600, f4, shutter speed 5 seconds
ISO x 2 (+ 1 stop)
f2.8 x 1.4 (- 1 stop)
TOTAL STOP CHANGE: 0
PHOTO 3 - ISO 200, f4, shutter speed 40 seconds
ISO / 2 / 2 (- 2 stops)
f2.8 x 1.4 (- 1 stop)
shutter speed x 2 x 2 x 2 (+ 3 stops)
Selecting settings for light painting
This all depends on what time of evening/night that you are shooting in, but there are some general principles you should follow.
Selecting an f-stop for light painting
Obviously, you are working in a low-light situation, so you may think the wider the aperture the better so you can collect as much ambient light as possible. However, there are some other points you need to consider before selecting an f-stop. This will all also depend on what lens/camera you have. A few points to consider are:
Sharpness of the image
We use a Sigma 20mm Prime lens which has a maximum aperture of f1.4, which is very wide and bright! But sharpness usually drops off when a lens reaches the extremes of it’s f-stop range. Hence we usually use this lens at f2.8
Depth of field
It’s always tempting to open your aperture to as wide as it goes to let in as much light as possible, but this has drawbacks. You need to consider your subject, foreground and background, your distance to them, and whether you want them all to be in focus or not.
If you are using a wide angle lens (20mm) on a full frame camera at f2.8, then you can calculate your hyperfocal distance. In this case anything beyond 2.37m will be in focus if you set your focus on a subject 4.74m away.
If you want to calculate your depth of field, I would highly recommend using an app called PhotoPills.
Selecting an ISO for light painting

f/11 - ISO 1600 - Shutter Speed 7 seconds
This again depends on your camera and what you feel comfortable pushing the ISO to before you start to get a lot of image quality degredation. It also depends on your location, whether it be an urban environment or on top of a mountain in the middle of nowhere. These are some suggested starting ISOs.
TWILIGHT
URBAN - ISO 800
RURAL - ISO 1250
NIGHT TIME
URBAN - ISO 1250
RURAL - ISO 1600
For the image you can see here, we were in a rural environment at twilight. We started with a low aperture and ISO 1250. However, we wanted to use f/11 to make sure the subject, light painting and background were sharp. As we put the aperture up, we had to also increase the ISO to balance out the f-stop change. In addition to this, we also used another external light source to light the subject, because f/11 isn’t a bright aperture for low light situations!
Selecting a shutter speed for light painting
There are a couple of options here, you can use manual mode and set a shutter speed and test your exposure and adjust up/down if necessary. This is the variable that I change the most out of the three. If you are using a remote trigger on bulb mode, then the shutter speed will be for however long you are holding down the shutter for!
However, I would always suggest doing some test shots first so you can work out what you maximum & minimum exposure times are.


CONCLUSION
You’re probably thinking, you didn’t tell me the exact settings! And well, yeah. How could I! I have no idea where you are, at what time of day or what creative style you are going for. However, I hope I’ve given you some tips to help you next time you’re out on location.
And remember, always take test shots and make sure everything you want to be in focus IS in focus before you start shooting!!
Good Luck!!
SOCIAL
CATEGORIES
FEATURED PRODUCT


Using colour theory we have designed these three colour Choobs based on split complementary colour matching.
By using colour theory we can design and light paint using the most aesthetically pleasing colour combinations.